Documenting work
Documentation setup
General Setup
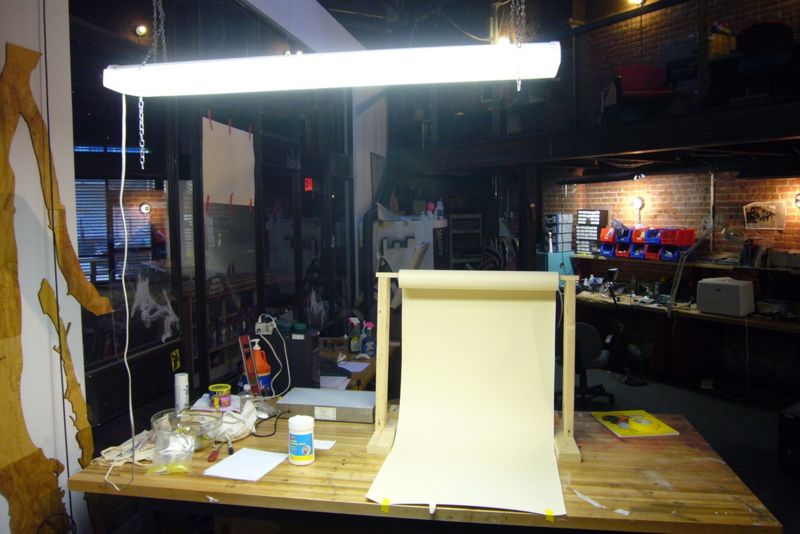
The stand is made with scrap 2x4s and a 3/4 dowel across the top that goes through the roll of paper. The same thing could be done with tape against a wall. Make sure you drape the paper so there is no defined corner. This gives the illusion of an infinite background.
With an overhead fluorescent, this lighting set up is not ideal, however you'll see it ends up working well. More careful placement of lights will get you even better results.
This particular set up cost \$16. The wood was free. The roll of paper is actual photo background paper, totally opaque, and cost \$16 at a photo supply store. Some clip lights and a wider background would improve this set up without much increase in cost.
Flat Work
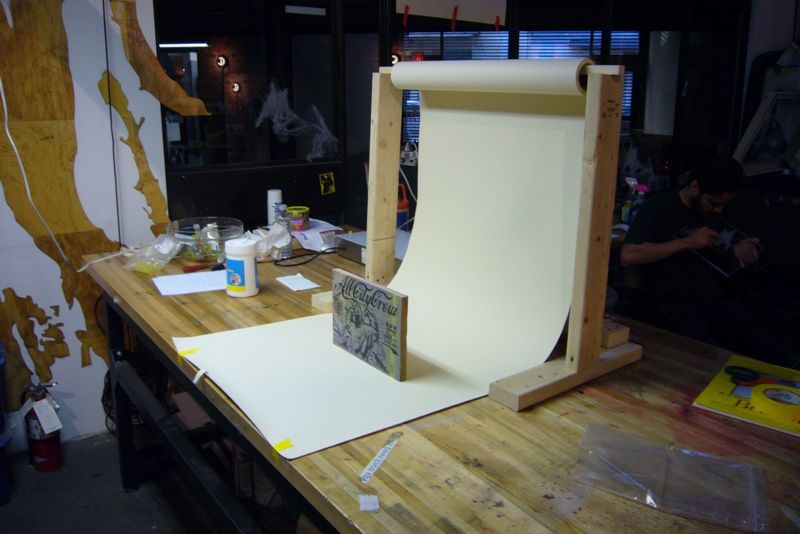
For flat work, prop the piece well in front of the back "wall". This particular painting stood on it's own, but you may need a block to prop up your work.
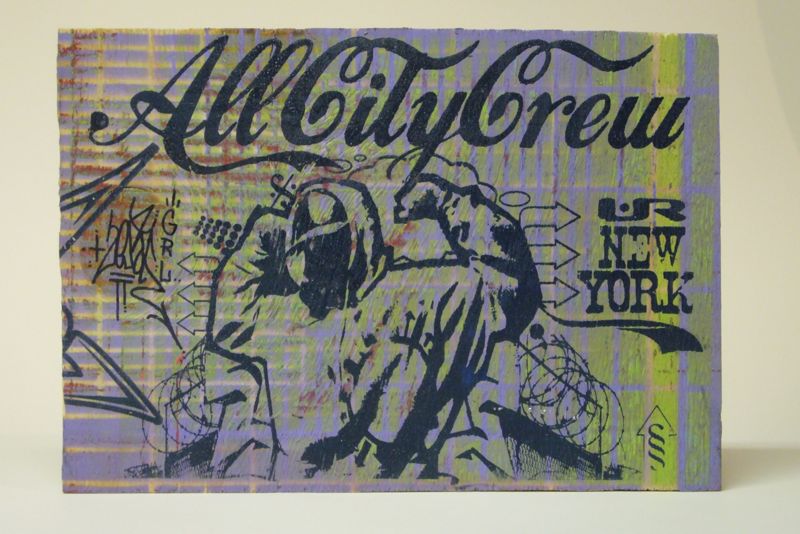
I zoomed in the camera to make sure I only got the background and minimized any curves caused by lens distortion. This photo is straight from the camera with no adjustments.
3D Work
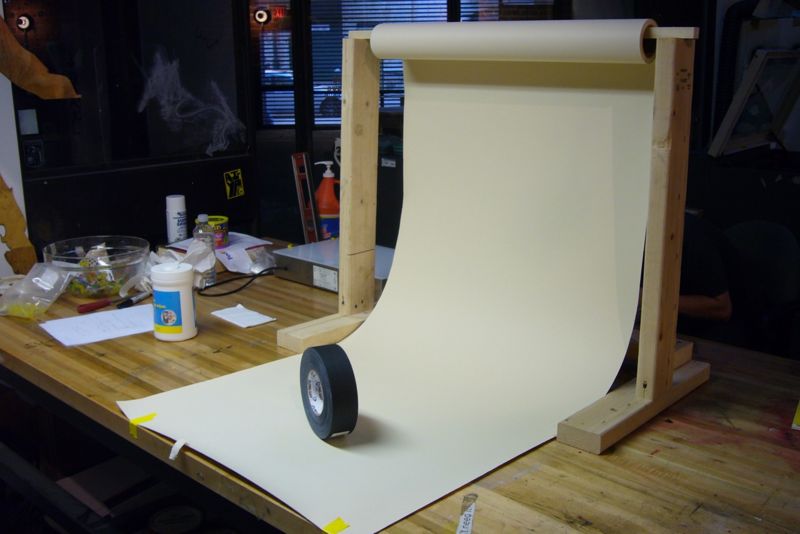
Again, you may need to prop up the piece for the best photo. Make sure you set it up well in front of the back "wall".
Like the flat piece, I zoomed in to make sure I was within the background. Raw photo with no adjustments.
General Tips on Documenting Work
The two weeks between your deadline to receive work and the show day is the best time to document the work artists have submitted and put it on your Budget Gallery site. There is a standard way to document art that is outlined in several books and websites. Look through these resources. The goal of all these methods is to have quality photos of artwork with backgrounds that no one will notice. The focus should be the work with no distractions caused by uneven lighting, a background, a weird angle, etc.
Shooting work

Most of the techniques outlined in books below involves setting up lights and using slide film. Our method is simplified to save time and cut costs. The Budget Gallery method sacrifices a bit in quality, but allows us to document the work of 40-50 artists within an afternoon.
For the best images, you will want to do this in bright, even light, but not direct sun. The shadows should not have sharp edges. Bright shady areas are good as are bright rooms away from direct light.
Things you will need:
- a long piece of drawing paper, white butcher paper, or ideally, a roll of photo background paper. You're going to use this to make a budget "seamless background" It should be about 36 inches wide and at least 48 inches long. A white linen sheet can be used instead, but paper is better. Grey or black colors will also work.
- a digital camera
Set up the butcher paper so 2 thirds is on the ground and one third against the wall. Pin it to the wall so it drapes down onto the floor.
Rather than over explain this, see more images of our documentation setup
Also, these two bicycle enthusiasts have documented their budget photo set up very well:
We basically do the same thing, but instead of bike size, we do art size. Ours fits on a tabletop.
Set up work away from the background (avoid leaning it against the background.. You might want to set up a block behind the piece to stand it up. Set the white balance on your camera (check the manual if you don't know how to do this). Frame the work so it fills as much of the frame as possible. Snap the photo, replace the work with next, and repeat.
Your photos should look something like this: 
We try to take the photos in the order of the inventory numbers on the application form. (Remember how you wrote numbers on all the forms and the back of the work?) This makes it easier to figure out when you enter them onto the website and make labels. For a really fool proof method, you can write the number of the art work on a little piece of paper, photograph it with the work, and then crop it out in photoshop at the end.
Prepping for the web
Once all the pictures are taken, you will need to prepare these images for the web. For some, this may mean turning it over to a geeky friend.
Essentially there are 3 things that need to be done to get your images ready for the website.
- Import the pictures to your computer
- Adjust the levels, exposure, and color balance with an image editor (See appendix for info on image editors)
- Crop your image if necessary.
- Resize the image (1000 pixels for the largest dimension is usually large enough)
- Optimize the image for the web - make it a .jpg and compress it.
- Save all the images to a folder on your computer.
When you're done photographing and putting the work away, look for art work on paper that is not mounted. Try to mount this work onto a piece of cardboard, foam core, or heavier paper using binder clips to keep the art work and what ever you are mounting it to together. In most cases you want to avoid glueing, taping, or permanently adhering someone's art to another surface. Works on paper that are not mounted tend to blow away if there is wind and it's easier to mount them at home before you go out and hang the work the day of the show.
Next Step
Once this is done, or close, you can start working on your labels.
Web Resources on Photographing Art
- http://www.dallasartsrevue.com/resources/How-to-Photo-Art.shtml
- http://artlinkswap.org/photographing_art.shtml
- http://www.hawkinsonphotography.com/photo_art.html
- http://www.bowdoin.edu/visual-arts/portfolio/photographing-art.shtml
- http://bermangraphics.com/artshows/photographart.htm
DIY Tools for Photographing Art
First see our budget documentation setup.
Bicycle Photographers
Instructables
- Light Box from Instructables
- Another Light Tent from Instructables
- Simple Light Set Up from Instructables
- DIY soft box from Instructables
- add more here
See also resources